

I created this project to test my new CNC Construction Set machine. It’s a simple advent calendar made from wood. It can also be used as a perpetual calendar, or even used as a training aid for teaching.
I will take you through my build process, but will supply all the drawing files so you can build it your way.
Step 1 - The Main Panels
I started with two panels, both 12” wide by 17” tall. These were cut from solid pine panels that I purchased from Home Depot. These panels come in various widths and heights and are .0656” thick. Most locations will even cut these for you.
I glued the two panels together. I used some heavy scrap metal to weight them down while the glued dried.
The Base Drawing Files
Proved here are the drawing files for the main calendar base. Included are DXF, AI, ESP, and CRV files.
Advent Main Base Drawing Files
Step 2 - Mill the Calendar Base
I used Vcarve Pro to create all my CAM files. I have included the Vcarve CRV files.
The first thing I did was used a 1/4” end mill to cut the advent gift holes and the main hanging hole.
I then used a 1/2” end mill to make the small holes used to install the brass pegs.
I then used a 1/8”, 30 degree V bit to engrave the day of the week text.
Step 3 - Finishing the Base
Before painting, I gave the piece a good sanding with a 120 grit sanding sponge.
I painted the base with a flat hunter green acrylic paint. I gave it two coats with a sanding in-between.
I painted the text with some white acrylic paint.
I gave the base a final sanding to remove the excess white paint from the base.
Step 4 - Brass Pegs
I cut 42 brass pegs. These were cut from 1/8” brass brazing rod that I purchased from Amazon. Each peg was cut to a length of 1”. Sorry, I did not get a picture of the rod added to the base.
Day Tag Drawing Files
Proved here are the drawing files for the day tags. Included are DXF, AI, ESP, and CRV files.
Step 5 - Day Tag Milling
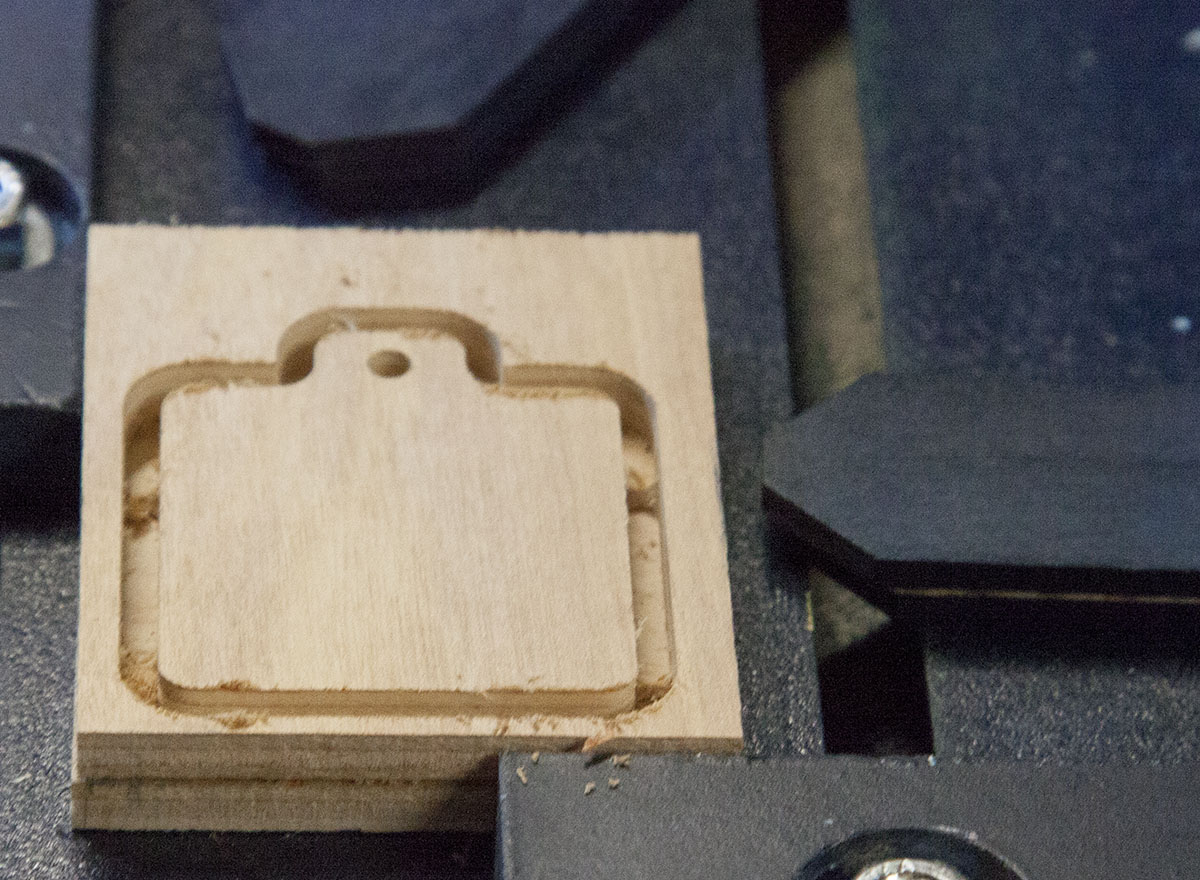
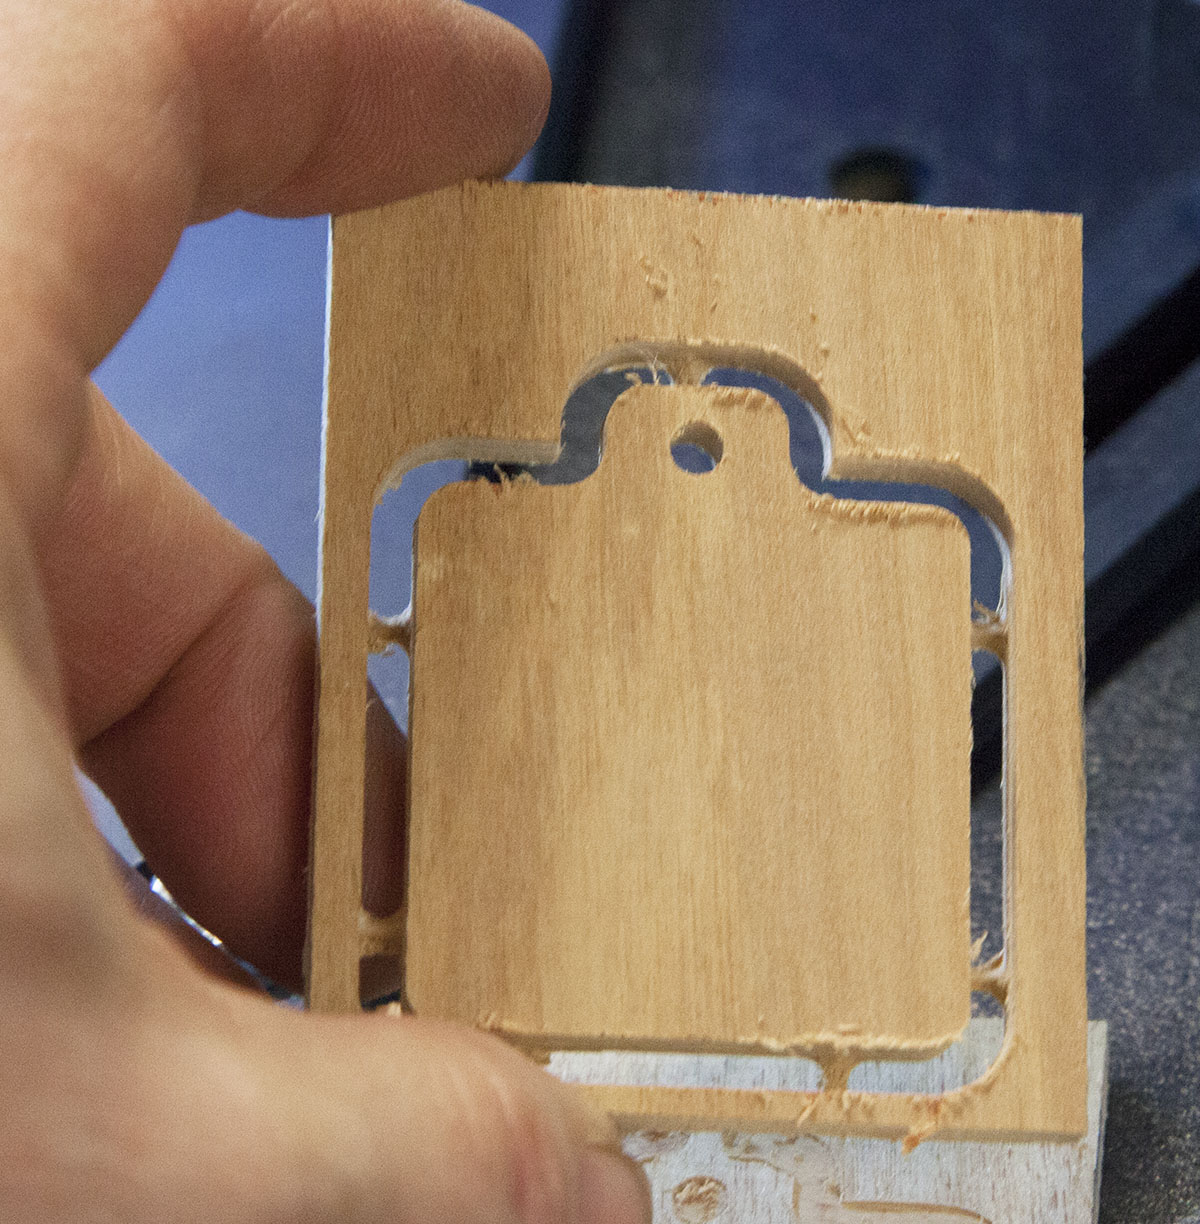
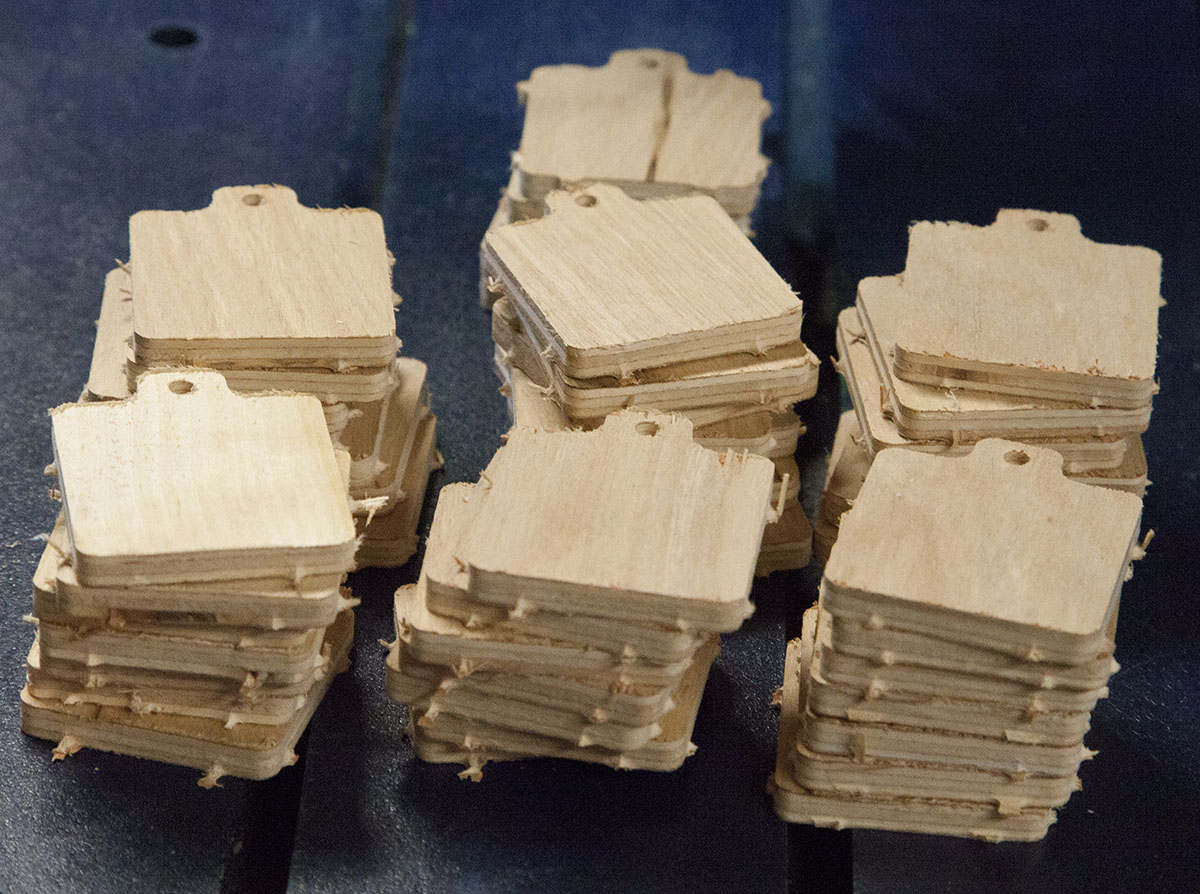
Each tag was mad from a single 2” x 2-1/4” x 1/4” piece of plywood. You can use a larger piece and cut more than one, but I wanted to do some testing on the machine as I cut mine.
Using a 1/8” two flute end mill. I started out fairly slow. I then move the speed and and depth of cut up.
Started with a feed of about 25IPM and a DOC of about .032”. By the time I had cut all the tags, I was cutting at a feed rate of 100IPM and a DOC of .125”
Because the plywood I used was some cheap underlayment, I backed it back down to a feed rate of 50IPM and a DOC of .11”. This helped keep the chipping to a minimum.
Step 6 - Finishing the Tags

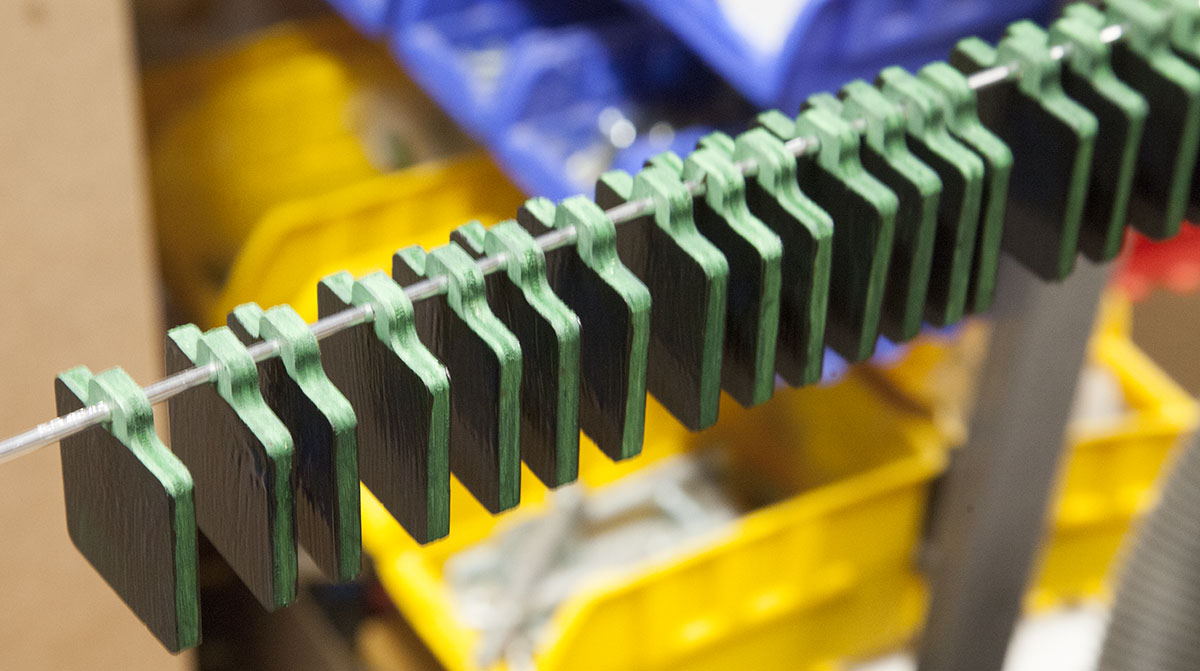
I cut two sets of tags. On one set I just painted them with red acrylic paint. I would later use a permanent marker to add the day numbers.
On the second set, I painted them with the hunter green acrylic paint. I added some chalk paint so I could use some chalk to write the numbers.
Just remember to sand between coats.
Step 7 - Tag Numbers
On one side of the chalk tags, I used some colored chalk and hand wrote the numbers.
On the other side I used some Stencils and Chalk Markers to add the numbers.
For the red tags, I used the same stencils and some permanent markers to add the numbers.
The chalk markers came with several labels that can be used with the markers. Here I add a couple to add the year and month.
Conclusion
I hope you have fun with this project. If you build this advent calendar, send me some pictures. I would love to see your variations.