

Aligning the Fixture
There are times when you may need to align the fixture. The procedure goes like this:
1. Home the machine. This is easy if you have homing switches and fences.
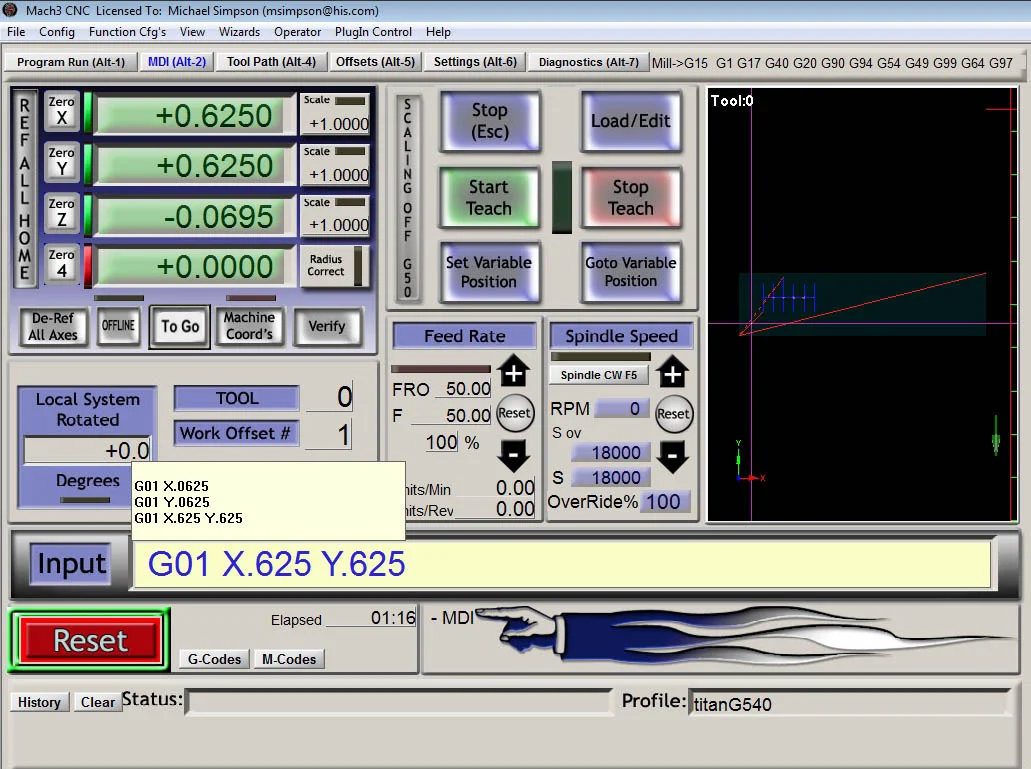
2. Insert a 1/8 spiral bit and issue the Gcode command "G01 X.625 Y.625" using the MIDI panel as shown here.
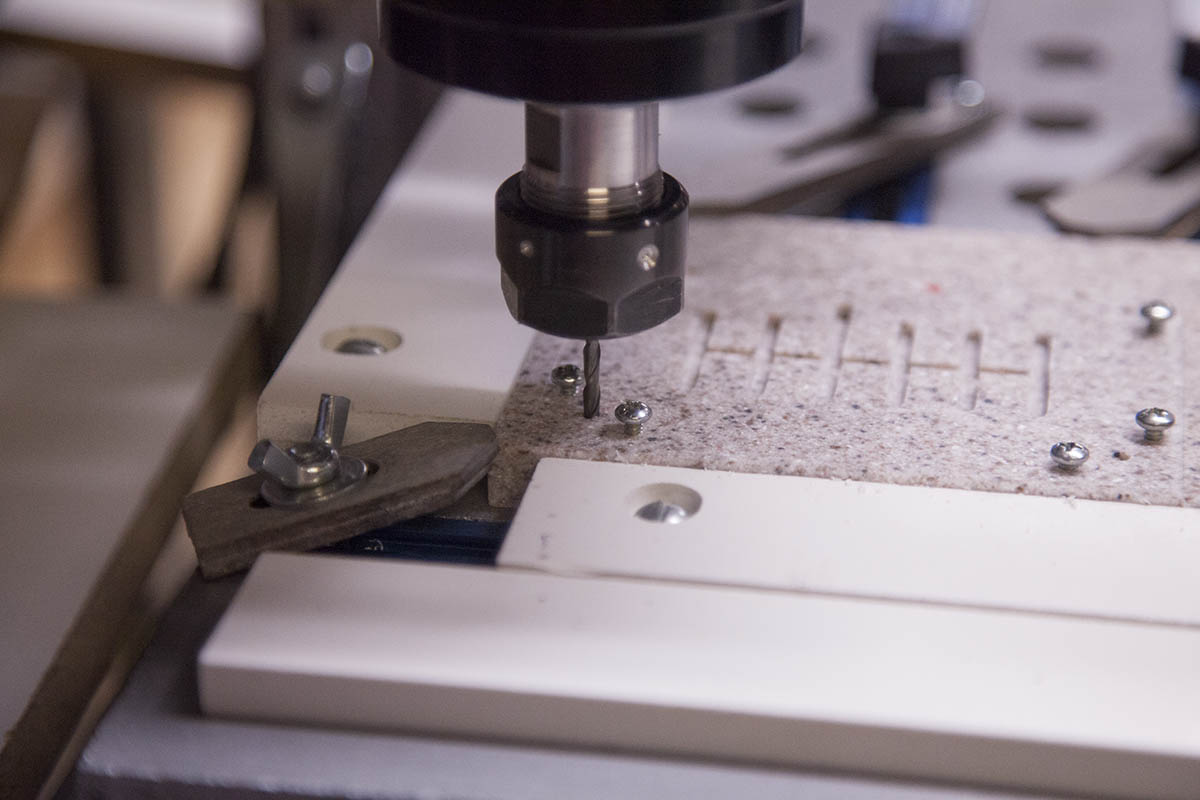
3. Slowly lower the bit as shown until it enters the first alignment hole shown. If it does not line up use the arrow keys to nudge the spindle until it does.
If you had to nudge, enter .625 in both the X and Y DROs. This will reset your reference.
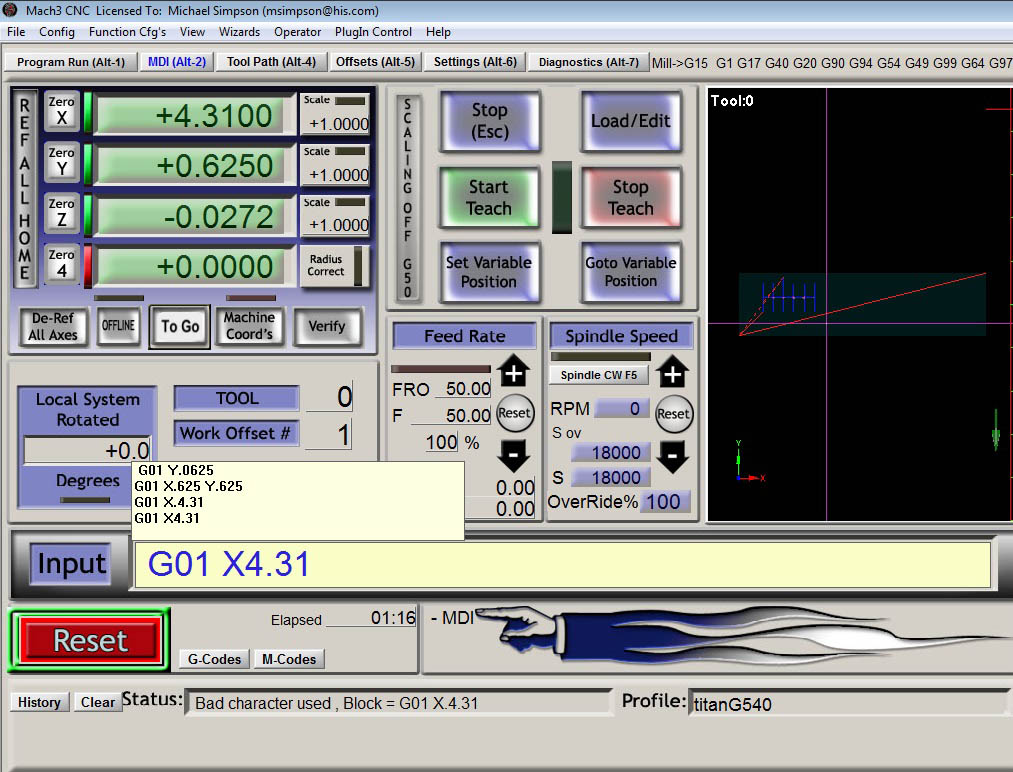
4. Using the MIDI interface again issue the following Gcode command: "G01 x4.31" as shown.
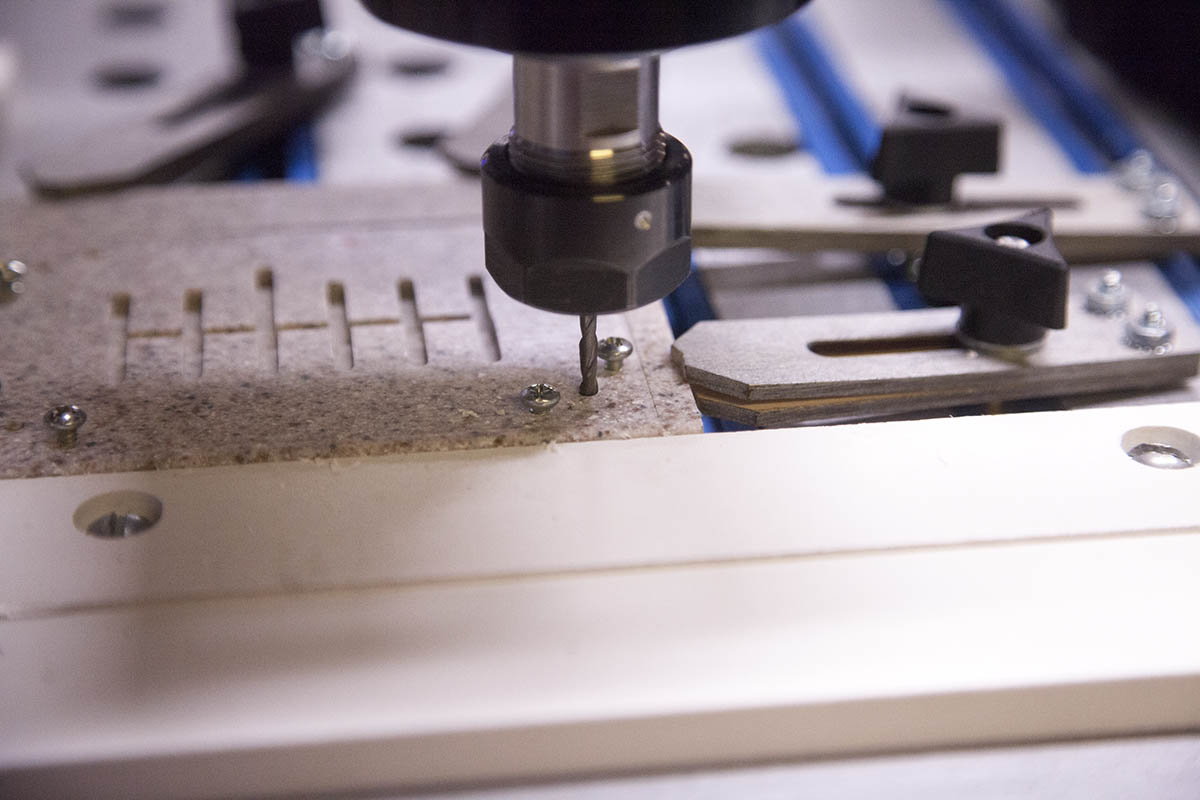
5. Lower the bit. It should line up with the second alignment hole. If it does not then something on your machine is out of alignment. It could be your fences or your machine may need to be recalibrated.
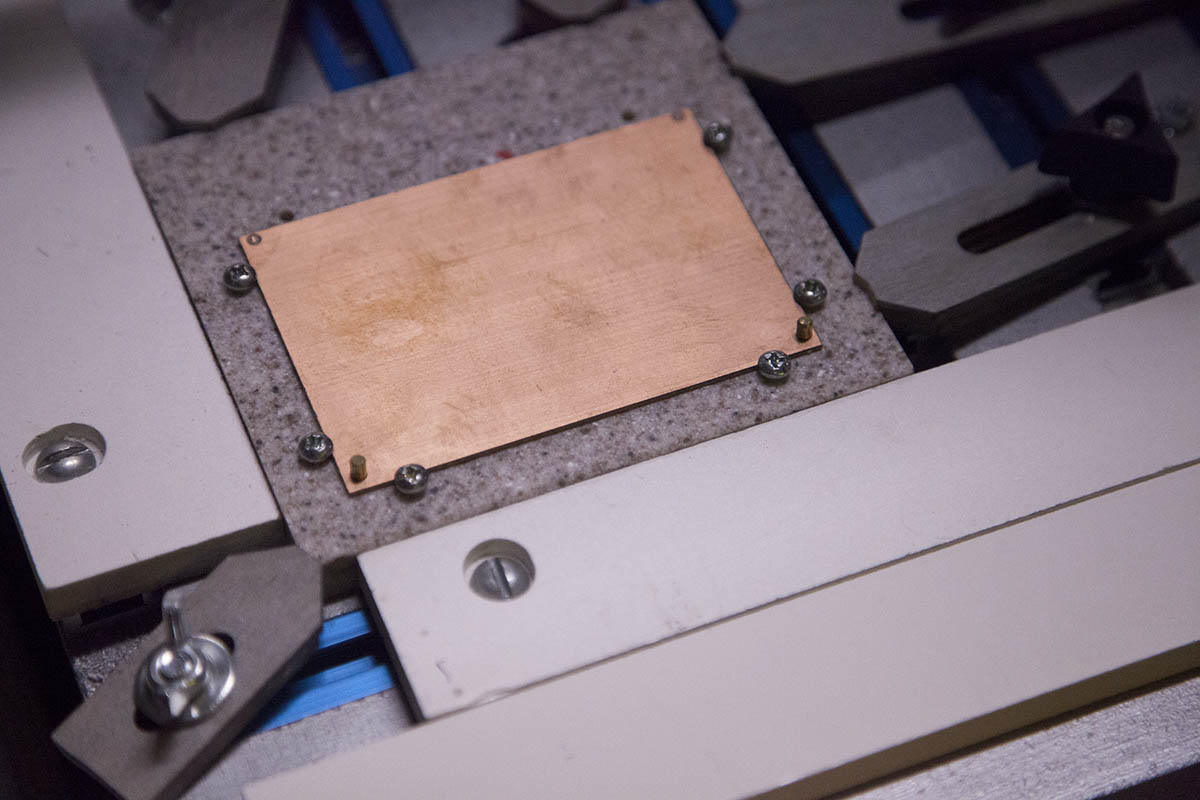
Prep the PCB
- Loosen the hold down screws.
- Insert the PCB until it rests against the two lower screw shafts, then raised just enough so that the lower screw heads just catch the board. The board should be centered between the two side screws.
- As an option you can insert the top two holding screws and just center the board enough so that all the screw heads will catch the board.
- Insert a 1/8 up-spiral bit and using a probe set the Z reference to the top of the PCB.
- Using the Gcode file "PCB Only Alignment Holes" mill the four alignment holes into the PCB as shown.
- Note that only two alignment holes are needed. I drill four holes, but it is up to you how many you actually use.
Alignment Pins
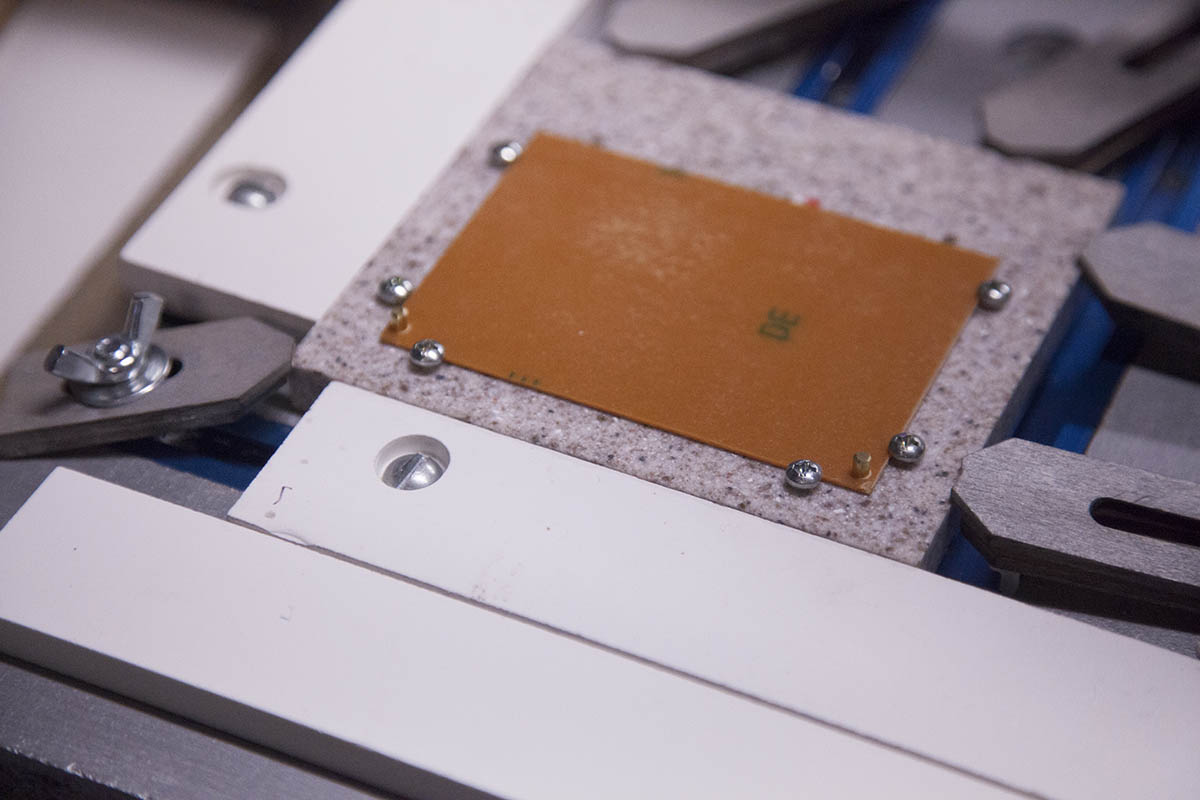
You will need to make some small alignment pins. To do this:
- Cut a 5/8" piece off of a 1/8" brass rod.
- taper one end with a grinder or rotary tool.
To attach a prepped PCB to the fixture:
- loosen the screws and insert the PCB.
- Insert the alignment pins
- Snug the screws.
Here is a video of the KRMx02 performing the above procedures.
Please note that if you are making a single sided PCB, you only need to use the alignment pins if you need to reattach a PCB that you removed.