


In this installment, I am going to go over two CNC router table tops.
Basic Table
Slatwall Table
These are the most inexpensive and easiest to install CNC tables. I will cover some of the more expensive and complex tops in a later installment.
Mounting the Table Tops
Before getting into the actual tops, lets look at the method I used to mount them.
In volume 2, you installed 6, 1/4-20 T-nuts on each side of the top of the frame. These T-nuts are used to attach studs to hold your tables and accessories in-place. While you only need six 1/4-20 x 1-1/2” studs to hold the tables in-place (3 on each side), I recommend making at least 10 as you may need more for other accessories.
I purchased a piece of threaded rod from my local home center. I cut them using a metal cutting band-saw, but you may use whatever means available to cut the studs to length.
If you don’t want to make your own, you can purchase a set here:
Clean the ends to remove the burrs. Here I used a sanding disk.
You can use several methods to clean the ends of the studs.
Bench Grinder
Rotary Tool
File
I recommend adding a slight bevel to the ends, as this will help you insert stud into the T-nut when needed.
You are going to install three studs on each side of the frame at 2”, 17”, and 32” from the front, as shown here.
Mark the locations with a permanent marker and slide one of the previously installed T-nuts into position and tighten the stud until it bottoms out.
If you decide to make your own studs, I recommend adding a slit to the top so you can secure the studs in-place when needed.
Note that the pre-made 1-1/2 set screws mentioned above already have a hex slot to tighten them.
Your various tables will slip over the studs as shown here.
Basic CNC Table Top
Now that we have our studs in-place let’s take a look at the “Basic Table”
The “Basic Table” is simply a piece of engineered panel stock.
By engineered, I don’t mean solid wood, as it is too unstable to use as a CNC table top.
1/2 - 3/4” panels made of:
Melamine Coated Particle Board
Plain Particle Board
MDF
High End Plywood and OSB
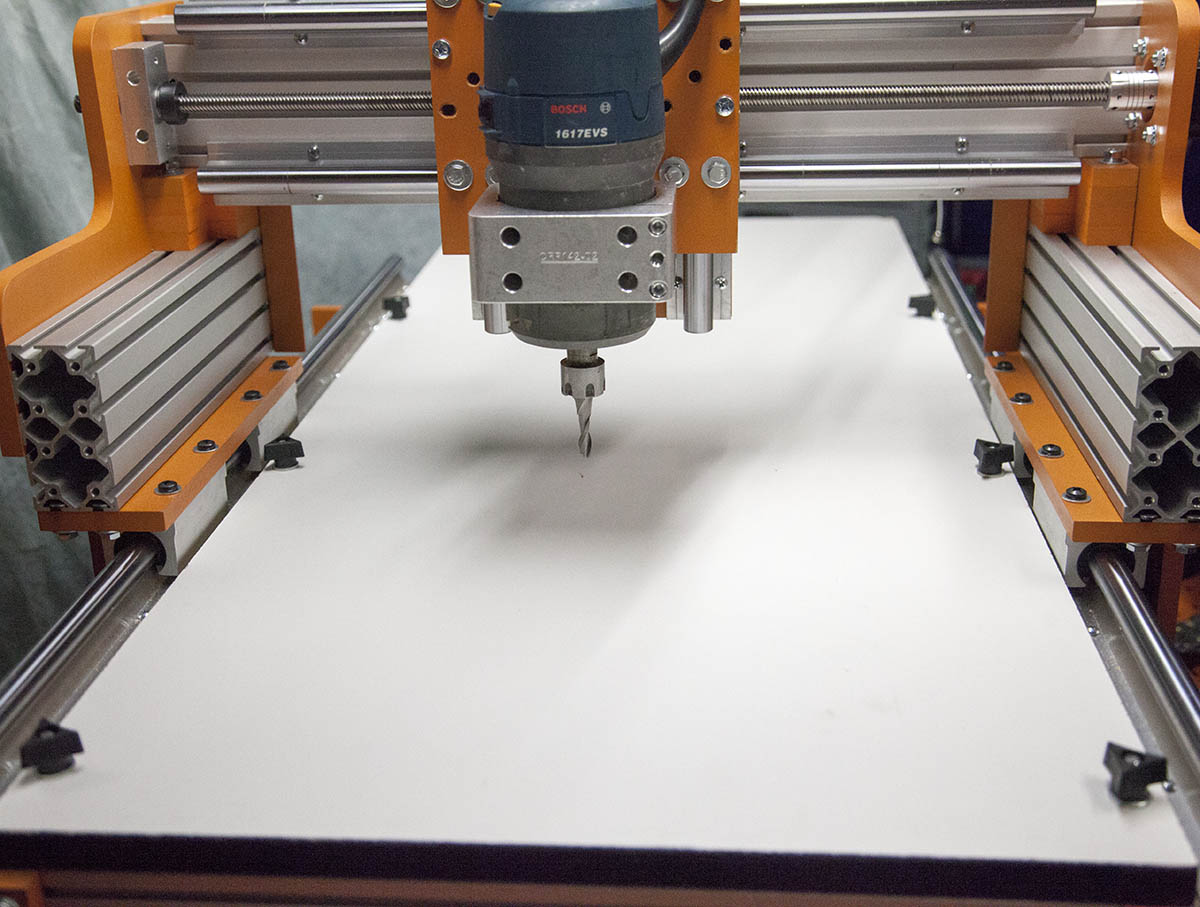
Shown here is the piece of melamine coated particle board that I recommended for tuning in Volume 2.
Shown here are the dimensions and the hole layouts for that table.
This six holes are drilled with a 3/8” drill bit at the locations shown. This will give you some wiggle room for adjustments.
Add a 1/4” washer and a small 1/4"-20 knob to secure the top.
I prefer using small knobs as they don’t get in the way of the Y-carriages.
You can purchase a set here:


You can use several table sizes. Shown here is a 48” long melamine coated table, a 36” particle board table, and a 19” MDF table.
To use the basic table, you have to get creative on how to hold down the stock you plan to mill. You can use anything from double sided tape to screws and bolts.

Some Basic Table Examples
Here is a drawing I did using the melamine top. I use this drawing as a break-in test. But you could use this table to draw some larger posters or signs.
Here, I am using a smaller table top with a machinist vise installed.
If you are going to do aluminum milling with a mister, you may want to install a drip pan as the MDF top will not hold up to moisture.
Slatwall CNC Table Top
Slatwall are MDF panels with slats cut into them. They are used in the retail industry for product displays.
I have seen them in full 48” x 96” sheets, 24” x 96” sheets, and 24” x 48” sheets. Some home centers even sell them.
I used the 24” x 48” sheets. You can purchase a set of 2 here:
The MDF Slatwall table is my go to inexpensive clamping table. I have used them on both large and small CNCs.
The only real downside is that you will have to make your own T-nuts to fit the table, which I will get into later in this installment.
Prepping the Slatwall
The Slatwall table top requires a little more work than the basic table top. You need to cut both sides of the top, removing the half slats.
If you purchased the Slatwall from the link above, You get two sections, both 23-3/4” wide by 47-58” long. If your Slatwall is not 23-3/4” wide, you may need to make adjustments to the measurements I will be giving you.
Start by measuring over from the right side of the Slatwall 22-3/32” and cut the left edge off. This will yield you a flat edge on the left, as shown here.
Measure over from the left side of the Slatwall 20-1/2” and cut the right edge off. This will yield you a flat edge on the right.
Your seven remaining slots will now be centered. This will leave you enough room on the sides to make your holes.
Note that in the figure below, the stock was flipped in order to cut the right side.
Mark and drill six 3/8” holes at the locations shown. The 3/8” holes are oversized so you have some room for adjustments when you mount the top.
Note that these holes line up with the studs you added to the frame previously.
The 8” distance in the front, is so the table will extend 6” towards the front. This is to give you room for a fence and clamps.
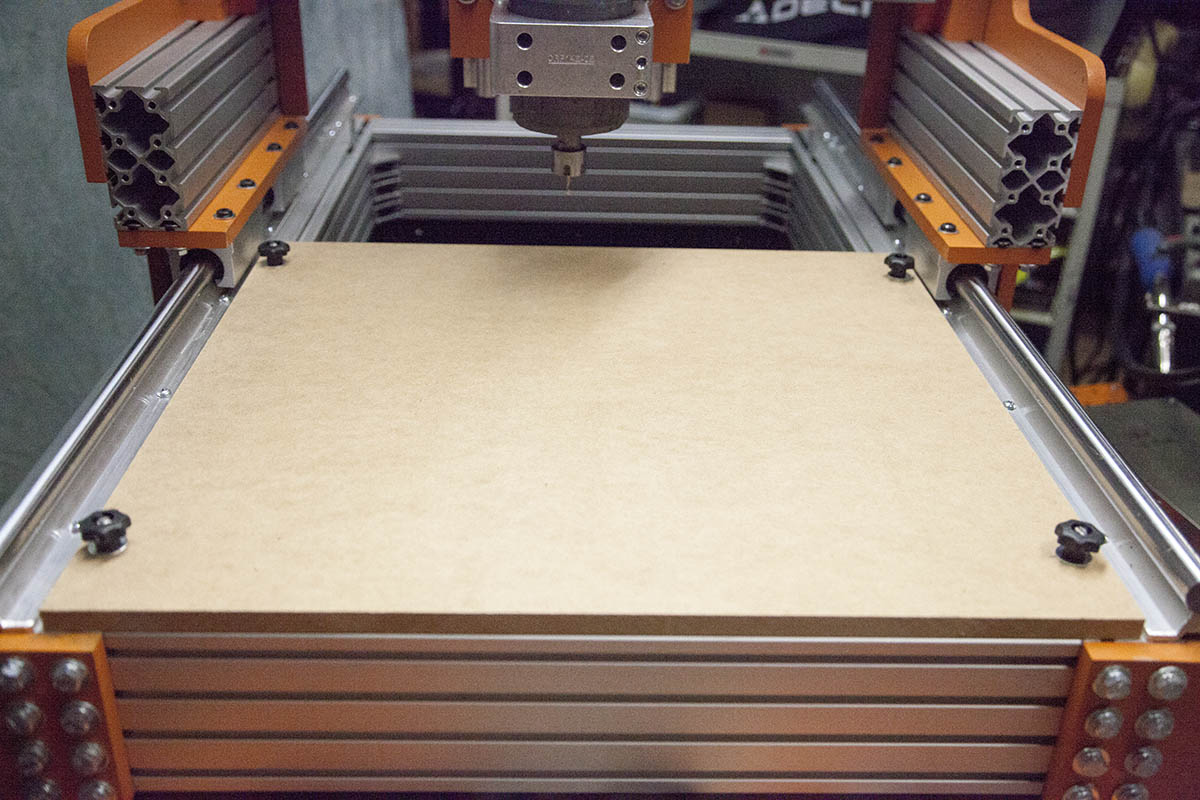
Your Slatwall CNC table top is ready to install.
Mounting the Board


Slide the Slatwall over the six studs until it drops into place.
Add a 1/4” washer and a small 1/4"-20 knob to secure the top.
Again, I prefer using small knobs as they don’t get in the way of the Y-carriages.
You can purchase a set here:
Slatwall T-nuts
In order to use the Slatwall table, you need to make some T-nuts.
The nuts are cut from 1” wide stock to make a square 1” x 1”. A #7 hole is drilled in the center, and tapped with a 1/4-20 tap.
You can use steel or aluminum with a thickness of 1/8”-3/16”.
Shown here are some T-nuts I made from 1/8” steel and 3/16” aluminum.
The studs are screwed into the T-nut with the slit or hex drive on top, as shown here.
The assembly is then slid into the slot. You can tighten the stud once you are happy with its location.
Your clamps are then slipped over the stud and secured with a 1/4” washer and knob.
Note that in a pinch you can use some 1” fender washers as clamps, until you can make your own.
Conclusion
There are several other tops you can create. I will go into these others when I complete the “CNC Construction Set Table Tops” volume.
Variations
As and example, Here I have attached six pieces of 1030 extrusion.
Here is an aluminum table I am working on that sits inside the frame on the plasma table support brackets.
Some Upgrades
Here, I cut four 1-1/2” x 3” cleats. These will be used to position a table in the same position each time it is installed on the machine.
I added glue to one side of the cleats. I then clamped each one to a corner against the frame and motor/bearing mounts.
Now, when I install the table it will be positioned in the same spot each time. This is great for fixture tables and tables with fences.
Here I added a piece of steel angle to the bottom of a table. It helps pull a bowed table into shape, and stiffens the table.
The more you add the stiffer the table will be. Just keep in mind that they also add weight to the table, making the table harder to remove and install.